
How to Clean Your Tumbler Barrel Properly: Maintenance for a Perfect Polish
Disclosure: This post contains affiliate links. If you click through and make a purchase, I may earn a commission at no additional cost to you.
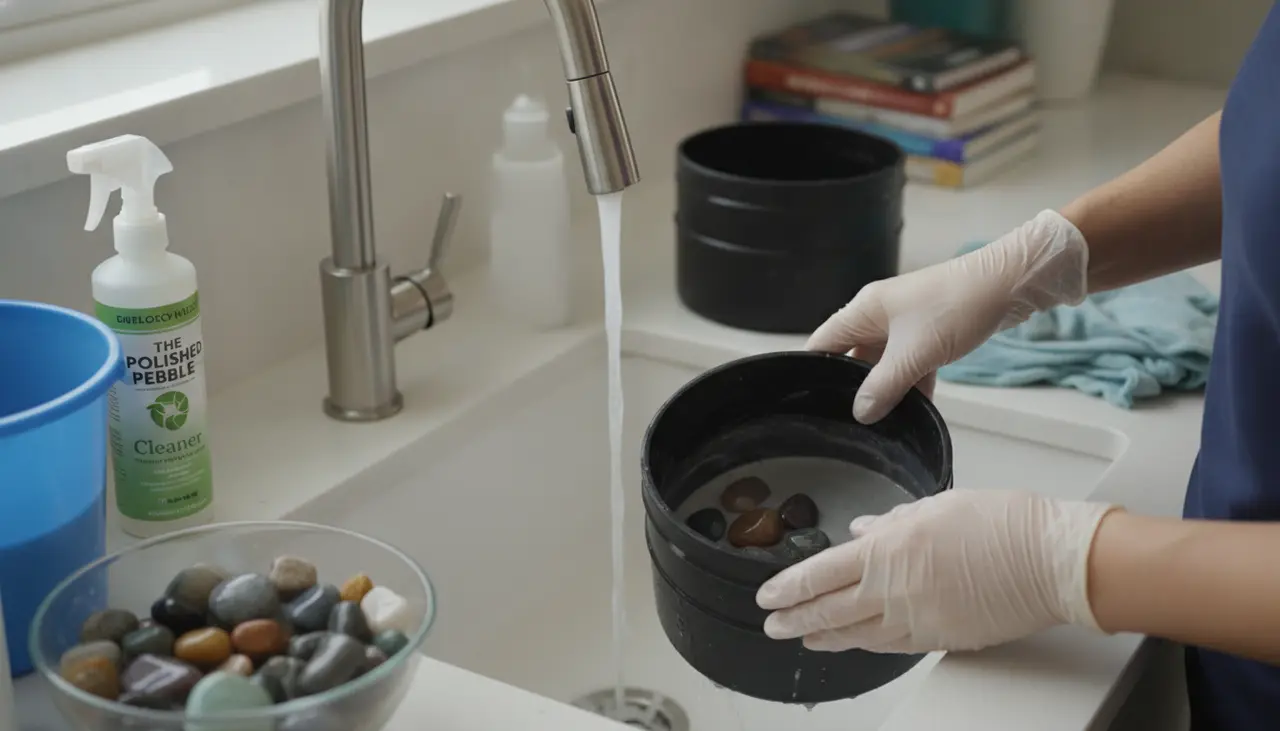
To clean a rock tumbler barrel properly, you must thoroughly rinse away all traces of the previous grit stage using a dedicated wash bucket—never a household drain. Use a soft-bristled brush to scrub the barrel's interior, the lid’s grooves, and the sealing gasket to ensure no stray grains of coarse grit remain to scratch your stones in the next phase.
Who This Guide Is For
Whether you are a weekend hobbyist or a dedicated creative looking for a meditative escape, this guide is for you. If you’ve ever wondered why your stones didn't reach that mirror-like finish, or if you’re worried about the mess that comes with a "slow-burn" hobby, these maintenance tips will help you keep your workspace clean and your equipment running for years.
Why Cleaning is the Most Important Step
In rock tumbling, the transition between stages is the "danger zone." A single grain of Stage 1 (Coarse) grit hiding in the rim of your barrel can ruin an entire batch of Stage 4 (Polish) stones. Think of it like washing a car: you wouldn't use the same muddy sponge on the wax finish that you used on the tires.
Proper maintenance isn't just about the rocks, though. It’s about protecting your investment. High-quality barrels from brands like Lortone or Thumler's are built to last, but grit buildup can cause leaks, wear down seals, and strain the motor.
Comparison: Barrel Materials and Cleaning Effort
| Barrel Material | Ease of Cleaning | Pros | Cons |
|---|---|---|---|
| Rubber (Lortone Style) | High | Naturally grips the lid; very quiet. | Can retain "grit smell"; needs careful rim scrubbing. |
| Hard Plastic (Budget Style) | Medium | Smooth surface rinses easily. | Can develop micro-scratches where grit hides. |
| Vibratory Bowls | Low | Open top is easy to see. | Many nooks in the center post can trap fine polish. |
Step-by-Step: The "Clean Barrel" Protocol
1. The Golden Rule: Use a Slurry Bucket
Never, under any circumstances, pour your tumbler slurry down a household drain. The rock dust and silicon carbide grit will settle in your pipes and harden like concrete.
- Action: Dump your barrel contents into a plastic colander over a 5-gallon bucket. Rinse the rocks and the barrel with a garden hose or a spray bottle into that bucket. Let the sediment settle overnight, pour off the clear water, and dispose of the "mud" in the trash.
2. Scrub the "Hidden" Spots
Most leaks and contamination happen because of the lid assembly.
- The Rim: Run your finger along the inside rim of the barrel. If it feels "crunchy," there is grit trapped there. Use an old toothbrush or a soft nylon cleaning brush to clear it.
- The Gasket/Seal: If your tumbler uses a rubber gasket or a metal lid with a seal, remove it. Grit loves to hide underneath these components.
- The Lid Grooves: For National Geographic or hobby-style tumblers, the lid often has a deep recessed groove. Use a dedicated grout brush to ensure this is spotless.
3. The "Burnish" Run (Optional but Recommended)
If you are moving from Stage 3 (Pre-polish) to Stage 4 (Polish), a simple rinse might not be enough.
- Action: Place your cleaned rocks back in the clean barrel with fresh water and a tablespoon of Ivory soap flakes (not detergent) or Borax. Run the tumbler for 1-2 hours. This "burnishing" step lifts any microscopic grit from the pores of the stones and the barrel walls.
4. Inspect for Wear
While the barrel is empty and clean, check the health of your equipment.
- Gaskets: Look for thinning or cracks. Replacing a $5 gasket is much cheaper than cleaning a slurry explosion off your carpet.
- Outer Barrel: Wipe the outside of the barrel to remove any oil or dust. This ensures the barrel has proper traction on the motor rollers.
Recommended Cleaning Supplies
- Nylon Utility Brushes: Great for reaching into the corners of 3lb barrels.
- Replacement Gaskets: Keep a spare set for your specific model (e.g., Lortone 3A or 3-1.5).
- Slurry Bucket: Any 5-gallon hardware store bucket will do.
Common Beginner Mistakes to Avoid
- Using Dish Soap with Degreasers: Some heavy-duty soaps can prematurely dry out rubber barrels. Stick to mild soaps or Borax.
- Skipping the Lid Clean: People often focus on the barrel and forget the lid. A single drop of dirty water from the lid falling back into the "clean" batch is enough to ruin the polish.
- Storing Barrels Wet: After cleaning, let your barrel air dry completely before sealing it for storage. This prevents mold and keeps the rubber from getting "tacky."
Frequently Asked Questions
How often should I deep-clean my barrel? You should do a thorough rinse every time you change grit. A "deep clean" (with soap and a brush) is mandatory when moving from the final grit to the polishing stage. For more on the specific phases, see our guide on The 4 Stages of Grit: A Simple Guide to Professional Rock Polishing.
My barrel is leaking after I cleaned it. What happened? Check the rim for a stray piece of grit or a hair. Even a tiny obstruction prevents a vacuum seal. Also, ensure you haven't overfilled it; a barrel should be no more than 3/4 full. If you're still having trouble, you might need to consult The Polished Pebble Master Buying Guide: Choosing Your First Rock Tumbler to see if your barrel type is prone to specific seal issues.
Can I use the same barrel for different types of stones? Yes, as long as you clean it perfectly! However, many hobbyists prefer to keep one barrel dedicated strictly to the "Polish" stage to eliminate any risk of coarse grit contamination.
Final Thoughts
Taking an extra ten minutes to clean your tumbler barrel properly is the difference between a "pretty good" rock and a professional-grade gemstone. This hobby is all about the joy of the slow reveal—don't let a little bit of leftover dirt get in the way of your hard-earned results. Happy tumbling!