
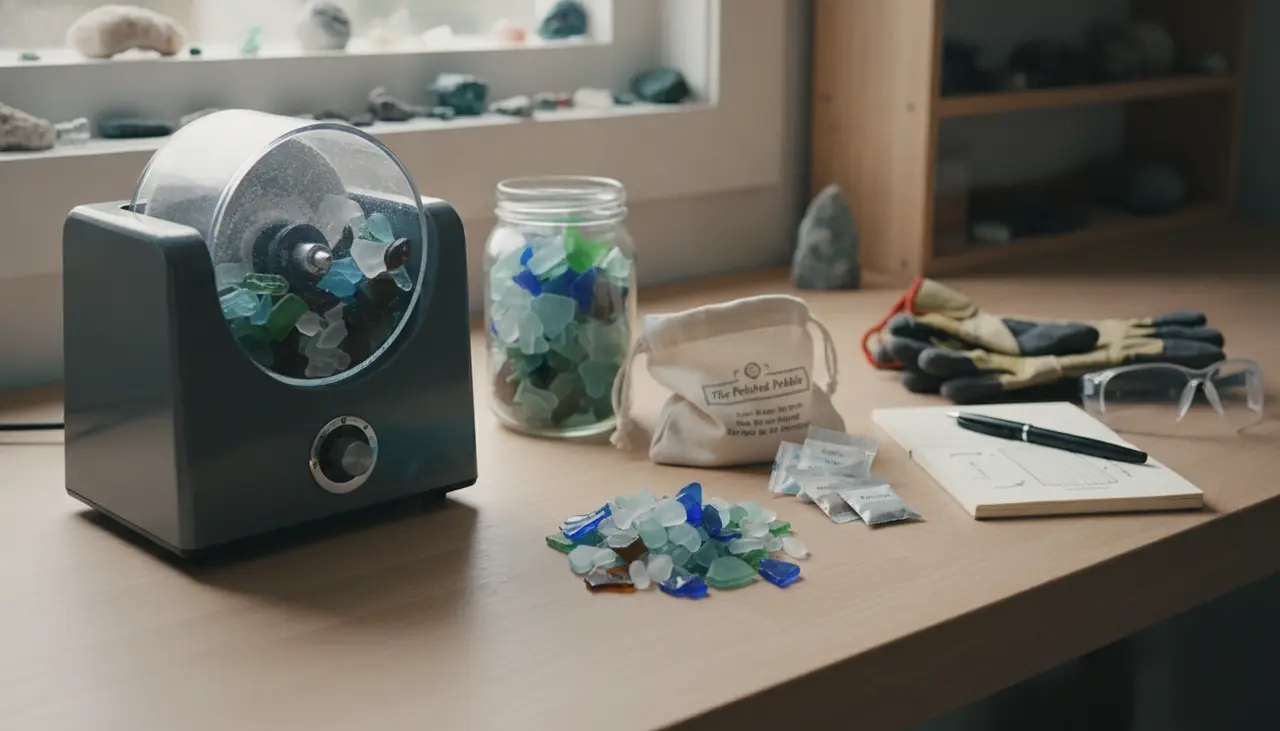
How to Tumble Glass: A Beginner’s Guide to Making Your Own Sea Glass
Disclosure: This post contains affiliate links. If you click through and make a purchase, I may earn a commission at no additional cost to you. I only recommend tools and supplies that meet the standards of the hobbyist community.
To tumble sea glass at home, you need a rotary rock tumbler, silicon carbide grit, and ceramic media. Because glass is softer than most stones (ranking about 5.5 on the Mohs Hardness Scale), the process is much faster than traditional rock tumbling. Most DIY sea glass projects are completed in just 4 to 7 days using only the first stage of grit to achieve that classic, frosted "beach-found" look.
Who Is This Guide For?
This tutorial is designed for the creative hobbyist who loves the meditative pace of lapidary work but wants a project with a quicker "win." Whether you are looking to upcycle old wine bottles, clear out a stash of mason jars, or create unique components for wire-wrapped jewelry, tumbling glass is a low-stakes, high-reward entry point into the world of tumbling.
Glass vs. Stone: What’s the Difference?
Before you toss your glass into the barrel, it is helpful to understand how glass behaves compared to the agates or jaspers you might usually tumble.
| Feature | Tumbling Glass (Sea Glass Style) | Tumbling Stones (Agate/Jasper) |
|---|---|---|
| Mohs Hardness | Approximately 5.5 | 6.5 to 7.0 |
| Total Process Time | 4–10 days | 4–6 weeks |
| Primary Goal | Frosted, rounded, matte finish | High-gloss, mirror-like shine |
| Media Requirement | High (Ceramic pellets are essential) | Moderate (Media used for cushioning) |
| Grit Stages | Usually Stage 1 only | All 4 stages |
Essential Supplies Checklist
Before you begin, ensure you have your workspace set up. Glass can be brittle, and safety is paramount when handling broken shards.
- Rotary Tumbler: A standard 3lb barrel is perfect. If you are still looking for your first machine, check out The Polished Pebble Master Buying Guide: Choosing Your First Rock Tumbler for recommendations.
- Glass Material: Recycled bottles (blue, green, and brown are classics), stained glass scraps, or decorative floral marbles.
- Coarse Grit: 60/90 Silicon Carbide grit.
- Ceramic Media: Small ceramic pellets are vital here to prevent the glass from chipping or shattering against itself.
- Safety Gear: Heavy-duty gloves and safety goggles for breaking the glass.
- Plastic Tub: For rinsing (never rinse grit or glass slurry down your household drain!).
Step-by-Step Tutorial: How to Tumble Sea Glass
Step 1: Prepare Your Glass
Safety first! Put on your goggles and gloves. Wrap your recycled glass bottles in a heavy cloth or towel and use a hammer to break them into manageable pieces (roughly 1 to 2 inches). Avoid "glass dust" by doing this outdoors or in a well-ventilated garage.
Step 2: Load the Barrel
Glass is less dense than stone, so it needs extra "cushioning" to prevent bruising.
- Fill your barrel about 1/2 full with your glass shards.
- Add ceramic media until the barrel is 3/4 full. The media acts as a buffer, ensuring the glass pieces slide against each other rather than slamming into one another.
- Add 2 tablespoons of 60/90 Silicon Carbide grit (for a 3lb barrel).
Step 3: The Tumbling Process
Add water until it just reaches the top layer of your glass and media. Seal the barrel and let it run.
Unlike the weeks-long process described in The 4 Stages of Grit: A Simple Guide to Professional Rock Polishing, sea glass only needs about 3 to 5 days in the coarse stage.
- Check at Day 3: Open the barrel and rinse a piece. If the edges are perfectly rounded and the surface looks like a frosted window, you are done! If it still looks sharp, give it another 2 days.
Step 4: The "Frosted" Finish (Optional)
If you want a very smooth, satiny finish, you can move the glass to a second stage using 120/220 grit for just 2-3 days. However, most hobbyists find that the coarse stage provides the most authentic sea glass texture. Do not proceed to polishing stages (pre-polish or polish) unless you want clear, shiny glass instead of frosted sea glass.
Common Beginner Mistakes to Avoid
- Skipping the Media: Glass is fragile. Without ceramic pellets to fill the gaps, your glass will likely chip, leaving white "bruise" marks on the edges.
- Overfilling or Underfilling: Always aim for that 3/4 full mark. Too little material causes the glass to crash around; too much material prevents the "tumbling" motion necessary for rounding.
- The Drain Trap: The slurry created by glass and grit is essentially liquid sandpaper. It will harden like concrete in your pipes. Always use a bucket system for cleaning.
- Mixing Hardness: Never tumble glass with real stones. The harder stones will simply pulverize the glass into sand.
Best Uses for Tumbled Glass
- Jewelry: Tumbled glass is perfect for beginner wire-wrapping projects.
- Home Decor: Fill glass vases or jars for a coastal aesthetic.
- Mosaic Art: Use the frosted pieces for stepping stones or wall art.
Frequently Asked Questions
Can I tumble glass in a vibratory tumbler? While you can, rotary tumblers are generally better for sea glass. Vibratory tumblers are designed to preserve the shape of the material while polishing the surface. For sea glass, you want to change the shape (rounding those sharp edges), which is what the tumbling action of a rotary barrel does best.
How do I get different colors? Look for vintage "Milk Glass" for a solid white look, cobalt blue medicine bottles, or even red glass (which is rare and highly prized).
Do I need to use polish? For traditional sea glass, no. Polishing glass requires a very specific approach and often results in a transparent look. The "magic" of sea glass is its matte, etched surface, which is achieved entirely in the first stage of grinding.