
The 4 Stages of Grit: A Simple Guide to Professional Rock Polishing
Affiliate Disclosure: As an Amazon Associate, I earn from qualifying purchases. This post contains affiliate links to high-quality tumbling supplies we recommend to help you achieve the best results.
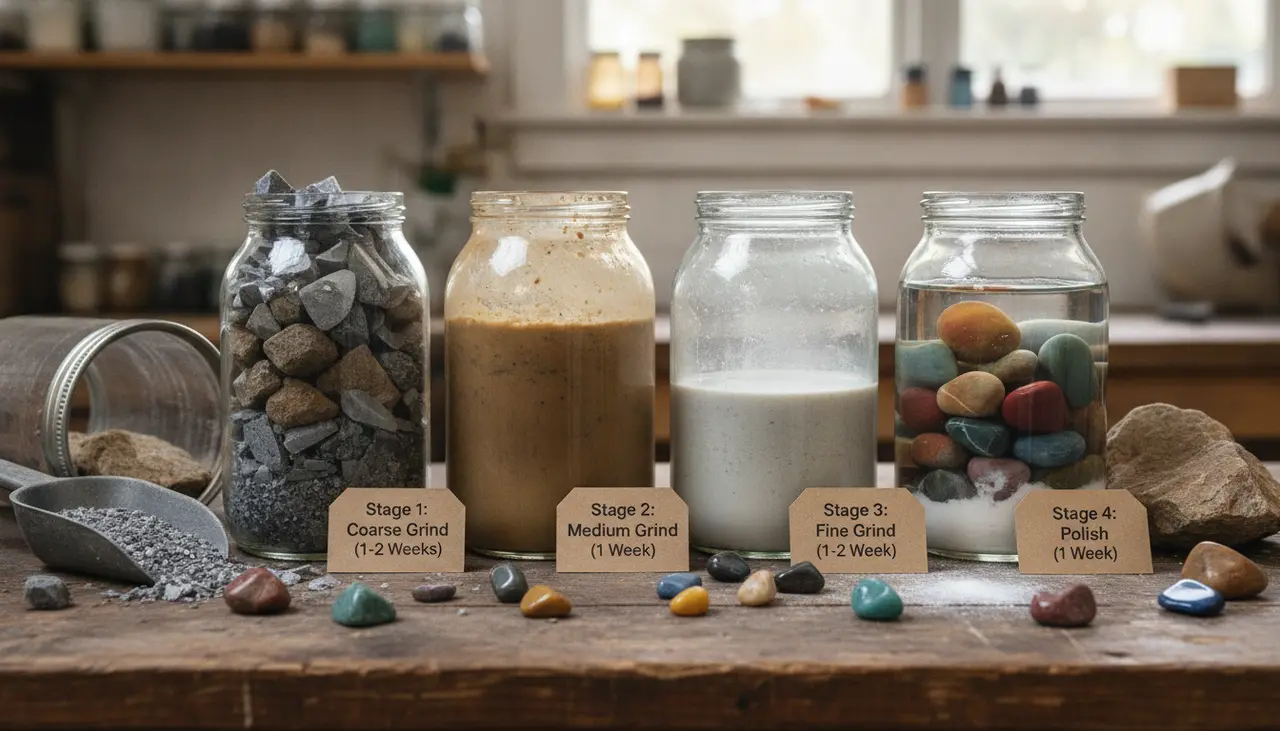
Rock tumbling is a journey of patience, turning jagged, "ordinary" rocks into smooth, gleaming gems. To achieve that professional mirror-like finish, you must move through four distinct grit stages: Coarse Shaping (60/90 grit), Medium Smoothing (120/220 grit), Pre-Polish (500/600 grit), and the Final Polish (Cerium or Aluminum Oxide). Each stage typically takes 7 days, meaning a full cycle usually lasts about four weeks.
Who This Guide Is For
This guide is for the hobbyist who loves the idea of "slow craft"—someone who finds peace in the steady hum of a tumbler but needs a clear, manageable roadmap. Whether you’ve just unboxed your first machine or you’re wondering why your last batch came out dull, this breakdown will help you navigate the process without the technical overwhelm.
If you are still looking for the right machine to start this journey, be sure to check out our guide on the Best Rock Tumblers for Beginners: Our Top Picks for Your New Hobby.
The Grit Cycle at a Glance
| Stage | Grit Type | Purpose | Realistic Timeline |
|---|---|---|---|
| 1. Coarse | 60/90 Silicon Carbide | Grinding away sharp edges and pits. | 7–14 Days (Repeat if needed) |
| 2. Medium | 120/220 Silicon Carbide | Smoothing out the deep scratches from Stage 1. | 7 Days |
| 3. Pre-Polish | 500/600 Silicon Carbide | Creating a matte, satin-smooth surface. | 7 Days |
| 4. Polish | Cerium or Aluminum Oxide | Achieving the final high-gloss reflection. | 7–10 Days |
Stage 1: The Transformation (Coarse Grit)
Stage 1 is where the magic starts. Using a heavy-duty 60/90 Silicon Carbide grit, you are essentially mimicking years of river erosion in a single week.
- The Goal: To remove all sharp edges and deep pits.
- The Busy Hobbyist Tip: You don't have to check your tumbler every day. Set a "Tumbler Sunday" routine. Every Sunday, open the barrel, rinse a few stones, and see if they are as rounded as you like. If they still have jagged holes or flat faces, add fresh grit and let them run for another week.
- Media Tip: If your barrel isn't 2/3 to 3/4 full with rocks, add ceramic cylinders to provide the necessary friction.
Stage 2: Smoothing the Surface (Medium Grit)
Once your stones are beautifully rounded, it’s time for 120/220 Silicon Carbide grit. This stage doesn't change the shape of the rock much; instead, it removes the heavy scratches left behind by the coarse grit.
- The Goal: A uniform, smooth texture across the entire stone.
- Pro Tip: Cleanliness is vital here. A single grain of Stage 1 grit left in the barrel will ruin Stage 2. Scrub your barrel and lid thoroughly!
Stage 3: The Satin Finish (Pre-Polish)
Now the stones start to feel soft to the touch. Using 500/600 Silicon Carbide (or sometimes a fine Aluminum Oxide), you are preparing the "skin" of the rock for its final shine.
- The Goal: The rocks should look smooth and slightly matte when dry, but show a hint of shine when wet.
- The Secret Ingredient: This is the stage where many enthusiasts start using more ceramic media. The smaller ceramic bits act as tiny cushions, preventing the stones from bruising each other as the grit gets finer.
Stage 4: The Final Reveal (Polish)
This is the most rewarding part of the hobby. Using a high-quality Cerium Oxide or specialized Aluminum Oxide polish, you’ll give your stones that "wet look" even when they are dry.
- The Goal: A mirror-like reflection.
- The Patience Factor: Polish takes time. While some stones look great after 5 days, giving them a full 7 to 10 days ensures that the chemical reaction and friction have done their job.
Essential Supplies for Success
To get these results, you'll need a reliable grit kit. We recommend looking for kits that include both Silicon Carbide for the first three stages and a high-purity polish for the final step.
- Silicon Carbide Grit Sets: These are the workhorses of the hobby.
- Cerium Oxide: Often preferred for agates and quartz to get that extra "pop."
Common Beginner Mistakes to Avoid
- Mixing Hardness: Never tumble soft stones (like Fluorite) with hard stones (like Agate). The hard stones will literally eat the soft ones. Use the Mohs Hardness Scale as your guide.
- The Drain Disaster: Never, ever pour your used grit slurry down the household drain. It will harden like concrete in your pipes. Always rinse your rocks into a bucket and dispose of the sediment in the trash or yard.
- Skipping the Wash Cycle: Between stages, run your rocks in the tumbler with just water and a little bit of shaved Ivory soap or Borax for 30 minutes. This "burnishing" step ensures every speck of old grit is gone.
Frequently Asked Questions
How much grit should I use? A general rule of thumb for a 3lb tumbler barrel is 2 tablespoons of grit per pound of rock. However, always check your specific tumbler's manual for their recommended ratios.
Can I reuse grit? Generally, no. By the end of a week, the grit particles have broken down into a fine "slurry" and lost their abrasive power. Fresh grit is required for each stage.
Why are my rocks still dull after Stage 4? This usually happens because of "bruising" (stones hitting each other too hard) or "grit contamination" (leftover coarse grit scratching the stones in the polish stage). Ensure you are using enough ceramic media to cushion the load and cleaning your equipment meticulously between stages.
Summary
Tumbling is a slow-burn hobby that rewards the patient. By following these four grit stages and maintaining a consistent weekly routine, you can fit this beautiful craft into even the busiest schedule. The joy of opening that barrel after the final polish and seeing your "found" stones transformed into treasures is a feeling that never gets old.
Related product: rock tumbling grit stages