
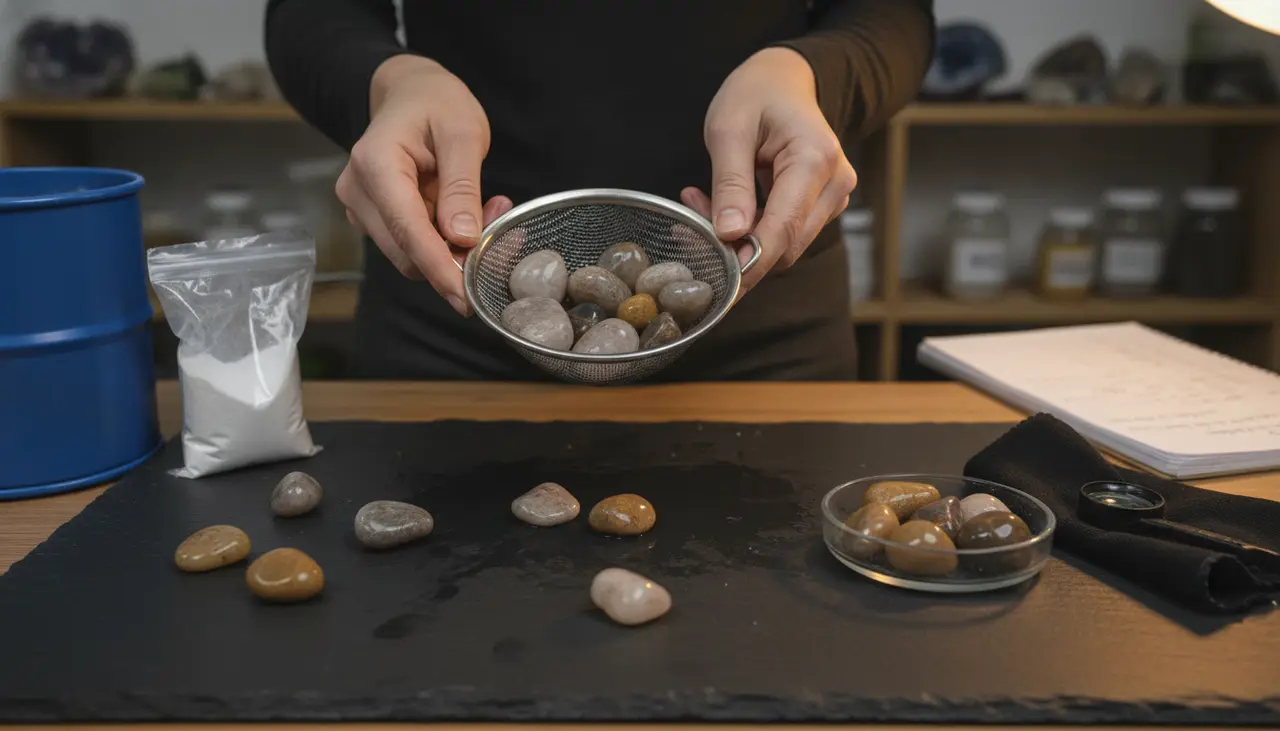
Why Are My Rocks Dull? Troubleshooting the Final Polish
If you have spent weeks listening to the rhythmic hum of your tumbler, only to open the barrel and find stones that look more like chalkboard erasers than gemstones, you aren’t alone. It is the most common frustration in the hobby: the "dull batch."
The most common reason a rock tumbler final polish is not working is cross-contamination from previous grit stages or using a polish that isn't fine enough. If even a single grain of coarse grit remains in the barrel during the final stage, it will microscopically scratch the surface of your stones, preventing a high-gloss shine. Other frequent culprits include mixing rocks of different hardness levels or failing to use enough cushioning media to prevent "bruising."
To fix this, you must meticulously clean your equipment, ensure your stones are all the same Mohs hardness, and potentially add a "burnishing" step with Ivory soap or Borax to strip away leftover residue.
Who This Guide Is For
This troubleshooting guide is for the dedicated hobbyist who has followed the instructions but isn't seeing those "wet-look" results. Whether you are using a classic rotary tumbler or a faster vibratory model, these steps will help you rescue a dull batch and master the art of the mirror finish.
The "Big Three" Culprits of Dull Stones
Before you give up on your batch, let’s look at the three main reasons the polish fails to "take."
1. The Cleanliness Crisis (Cross-Contamination)
This is the number one reason for a failed polish. A rock tumbler is a closed system. If a single speck of 60/90 coarse grit from Stage 1 hitches a ride into Stage 4, it acts like a rogue sandpaper grain, scratching your stones faster than the polish can shine them.
- The Fix: Use a dedicated toothbrush to scrub every crevice of your rocks and the lid of your barrel. If your barrel is older and has deep scratches in the rubber, it may be time to designate one barrel specifically for the "Polish Stage" only.
2. The Hardness Mismatch
If you tumble a piece of soft Fluorite (Mohs 4) with a piece of hard Agate (Mohs 7), the Agate will essentially "eat" the Fluorite. The softer stone will turn into a dull, muddy mess, and the dust from the softer stone can actually interfere with the polishing action on the harder stone. To understand how these stages work together, refer to our guide on The 4 Stages of Grit: A Simple Guide to Professional Rock Polishing.
3. Bruising and Impact
If your barrel is under-filled (less than 2/3 full), the rocks will crash into each other rather than sliding gracefully. This creates "bruising"—tiny white impact marks that make the stone look cloudy or dull.
Choosing Your Polish: A Comparison
Not all "polishing powders" are created equal. Many kits included with budget tumblers use a "pre-polish" labeled as polish, which won't give you that professional gleam.
| Polish Type | Best For | Micron Size (Approx) | Expected Result |
|---|---|---|---|
| Aluminum Oxide | Most versatile; great for Agate, Jasper, and Quartz. | 1.0 - 3.0 | High-gloss, "wet" look. |
| Cerium Oxide | Glass, Obsidian, and Opal. | 1.0 - 2.0 | Brilliant shine on softer/glassy stones. |
| Silicon Carbide (1200) | Pre-polishing only. | 12 - 15 | Satin/Matte finish (not a final polish). |
Step-by-Step Troubleshooting Checklist
If your rocks just finished Stage 4 and they look dull, follow these steps in order:
- The Dry Test: Dry a stone completely. Sometimes stones look great wet but dull dry. If they are dull when dry, the polish failed.
- The Burnish Cycle: Place your "dull" rocks back in a clean barrel with water and a tablespoon of grated Ivory soap or Borax. Run for 2–4 hours. This often removes a "haze" of leftover slurry and reveals a hidden shine.
- Check for Pits: Look at your stones under a magnifying glass. Do you see tiny pits or scratches? If so, the stones weren't ready for polish. You may need to go back to Stage 2 or 3.
- Add Media: If the stones look "frosted" on the edges, they are bruising. Add ceramic pellets to the barrel to 75% capacity to cushion the tumble.
Recommended Supplies for a Better Shine
- High-Grade Aluminum Oxide: Look for "Professional Grade" (roughly 1-2 microns). This is the gold standard for most hobbyists.
- Ceramic Media: Small porcelain cylinders help carry the polish into the tiny crevices of your stones.
- Burnishing Agents: Plain Borax (found in the laundry aisle) or Ivory soap flakes are excellent for the final cleaning.
Affiliate Disclosure: As an Amazon Associate, I earn from qualifying purchases. This means if you click on a link to a recommended polish or media, I may receive a small commission at no extra cost to you.
Common Beginner Mistakes to Avoid
- Skipping the Pre-Polish: You cannot jump from Stage 2 (Fine) to Stage 4 (Polish). Stage 3 (Pre-polish) prepares the surface to actually accept the shine.
- The "Kitchen Sink" Disaster: Never pour your slurry down the drain. It will harden like concrete in your pipes. Always use a bucket and dispose of the waste in the trash or yard.
- Patience Deficit: It’s tempting to peek every day. Every time you open the barrel, you risk introducing contaminants. Trust the process and let it run the full 7 days.
FAQ: Why Is My Rock Tumbler Final Polish Not Working?
Q: Can I reuse my polishing powder? A: It is generally not recommended. Polishing particles break down and become less effective over time. Furthermore, the risk of contamination from the previous batch is too high to justify the small cost savings.
Q: My rocks are shiny but have white spots in the cracks. What happened? A: That is dried polish. This happens if you let the rocks dry before cleaning them thoroughly. A quick 2-hour burnishing run with soap usually clears this right up.
Q: How do I know if my rocks are "polishable"? A: Perform a "scratch test." If you can scratch the rock with a steel pocket knife, it is likely too soft for a standard tumbling grit progression and may require specialized "dry tumbling" or shorter cycles.
Final Thoughts
Don't let a dull batch discourage you! Every master lapidary artist has a bucket of "oops" stones. Usually, the fix is as simple as a cleaner barrel or a better grade of Aluminum Oxide. Take a deep breath, give your stones a good scrub, and try a burnishing cycle—you might find that the shine was there all along, just waiting to be uncovered.